
Before you start
- A Blogger blog you can publish to
- A Google Cloud project with Blogger API access
- An OAuth Client ID and Client Secret
Step-by-step setup
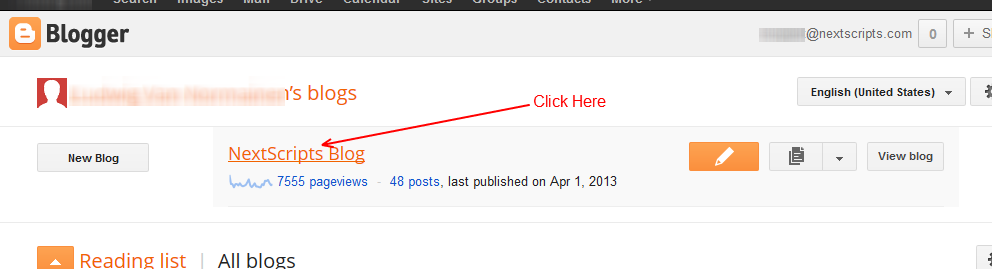
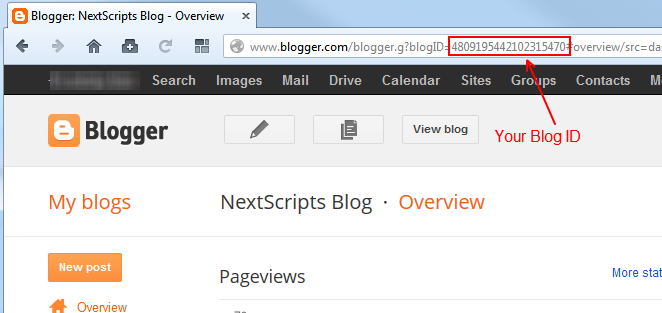
1. Find the Blogger Blog ID
Open the intended blog in Blogger. Find the Blog ID in its management URL and copy that value for the SNAP account.
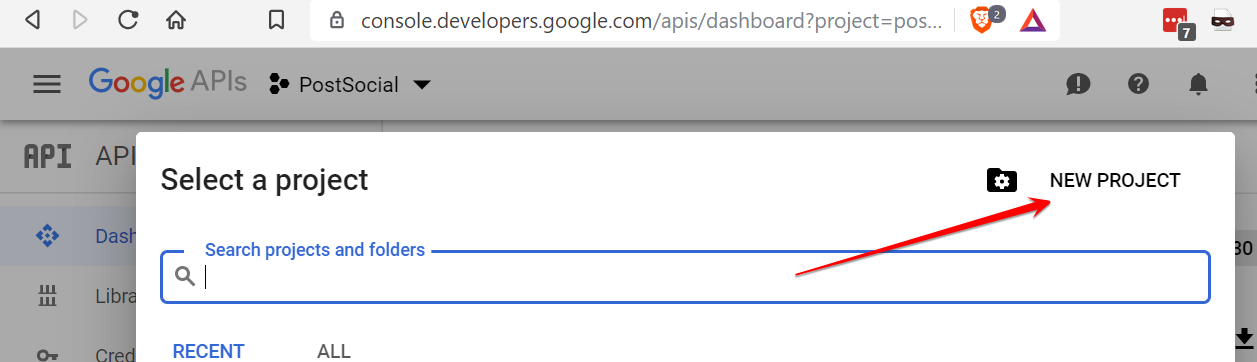
2. Create a Google Cloud project
Create or select the project you will use for Blogger publishing in Google Cloud Console.
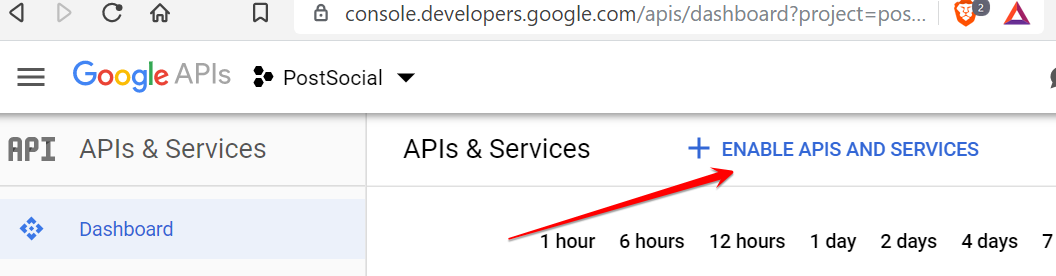
3. Open the API library
Open APIs & Services for your project and locate Blogger API.
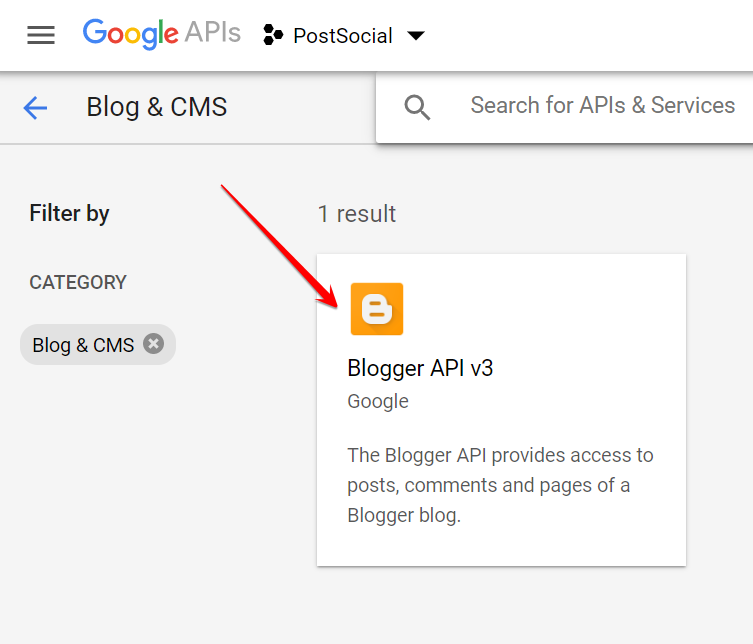
4. Enable Blogger API
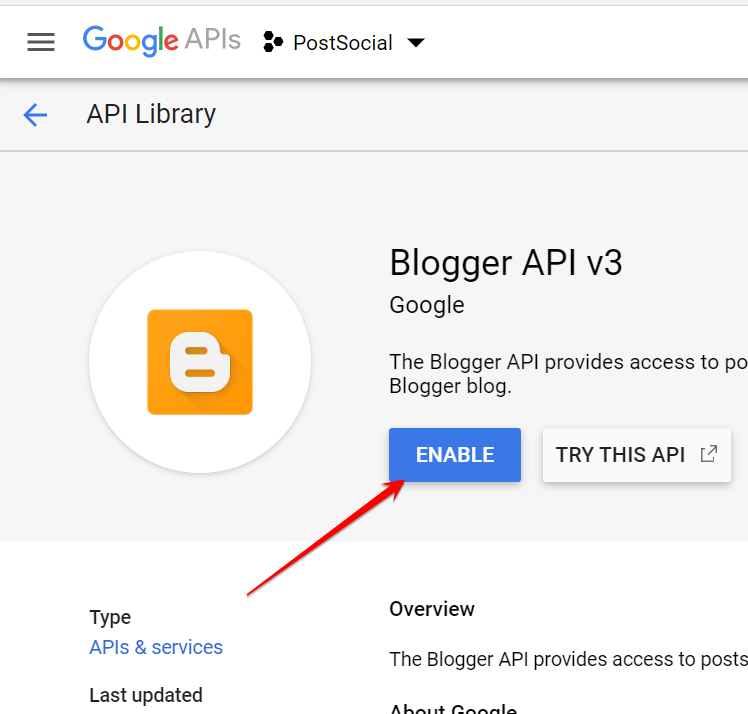
Enable Blogger API for the selected project and confirm it appears among the project’s enabled services.
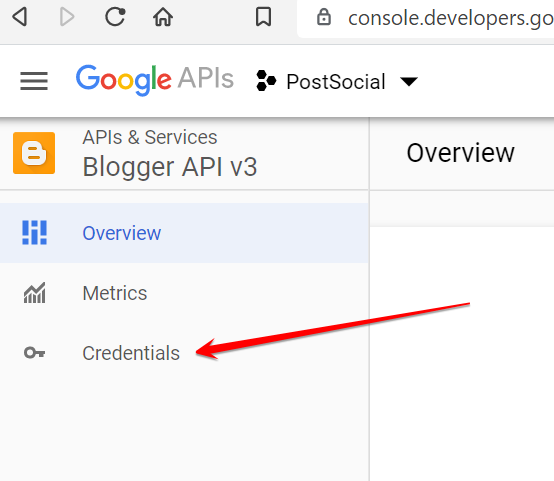
5. Configure OAuth
Configure the consent screen, create a Web application OAuth client, and register the exact redirect URL used by SNAP.
6. Connect the blog in SNAP
Add a Blogger account, enter the Blog ID, Client ID, and Client Secret, save, and authorize with the Google account allowed to publish to that blog.
7. Set your content templates
Choose the title and full-content or excerpt templates and save the account.
Check your first post
Send one test and review the delivery result. Confirm the destination, message, link, and image before enabling automatic publishing.
Troubleshooting
- Check the selected Google account and Blog ID if authorization works but publishing fails.
- The OAuth redirect must match the registered URI exactly, including HTTPS and any query string.
- Review Google’s consent-screen publishing status and token lifetime requirements for the app you are using.